
Introduction
If you look at the home page for our blogs, you will see little, square thumbnail images next to every post teaser. This is how to add/manage those little images.
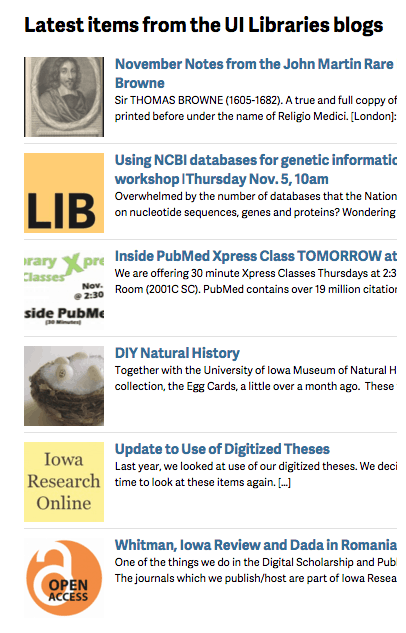
Examples of the thumbnails
What happens by default?
If you do nothing to your blog post the thumbnail will use the first image included in your post, if any exists. If there are no images in your post then it uses a default image for the UI Libraries (or, perhaps, your particular blog).
Square thumbnail and a non-square image
Automation is a wonderful thing if it does what we want. The square thumbnails use the largest possible version of an image that fits by cropping a square out of the center of the image. See the examples below.
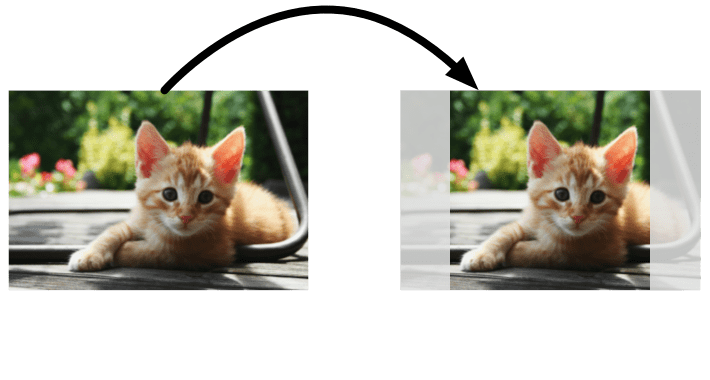
Landscape image cropping
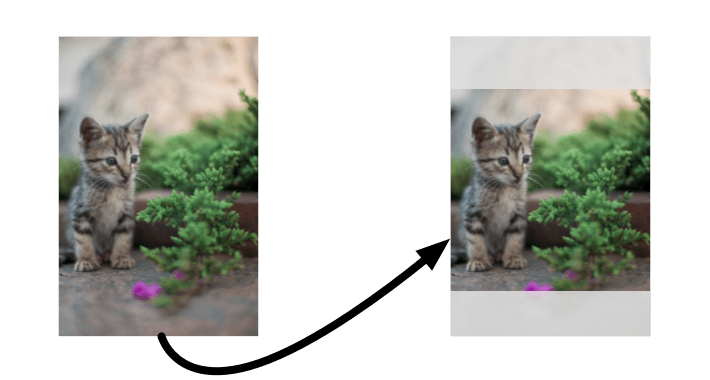
Portrait image cropping
For the above examples the cropping to a square image works out because all the salient image information is still inside the square. Other images will be less than optimal.
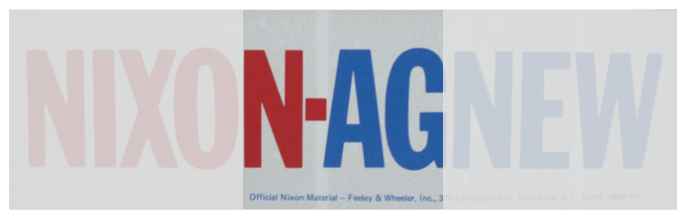
A cropping failure
So it behooves you to use an image with better aspect ratio. This is not always simple so…
Taking more control using a “Featured Image”
When you are in the edit page for your post, look in the right sidebar (probably near the bottom) and you will see a “Featured Image” box. Clicking on the “Set featured image” link will display the Media library to chose an existing image or upload an image. If set, a featured image become the image that is used for the blogs feed. It does not show up in the content of your post.
Things to remember about the featured image:
- It should be square or look good cropped as shown above.
- It should be at least 200px by 200px so that the resolution does not suffer in some applications of the image.